-This post may contain affiliate links-
It is time for another edition of Creative Crafts. This month the theme is Last Minute Holiday Crafts. I have to admit when I saw that was the theme for this month my first thought was that it isn't last minute yet, it will just be the beginning of December. Then I realized Christmas is just barely over 2 weeks away. With all of the school events, holiday parties, presents to get, and everything else there is to do between now and then it is definitely feeling like we are reaching the last minute part of the holidays.
I wanted to choose a super easy craft that would not take much time at all, since that what "last minute" means to me when crafting, super simple, easy to make, and fast. I had a stack of Christmas paper that I had gotten for another project and thought it would be perfect for this quick Christmas craft.
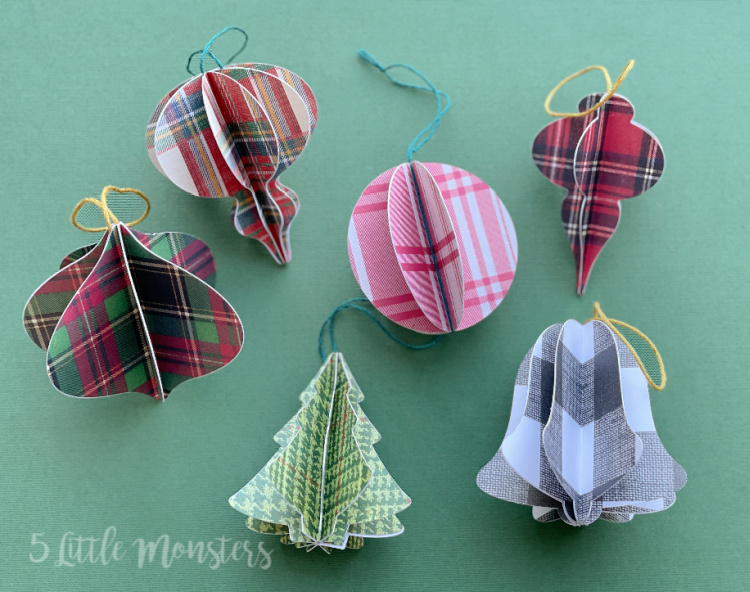
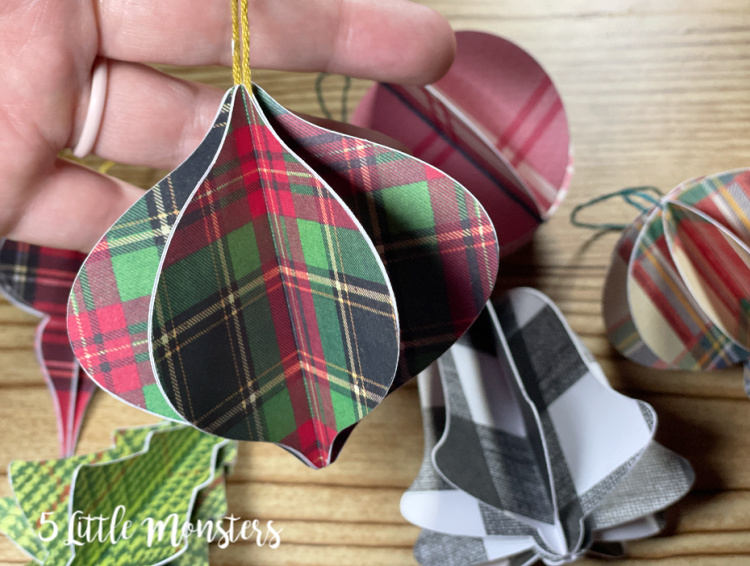
I made folded paper Christmas ornaments. They are made by cutting out several matching shapes (I used between 6-9 depending on the ornament) and then folding them in half and gluing the pieces together. This creates a sort of 3D ornament with flat pieces of paper.
To make this project even easier I used my Cricut to cut and score all of the shapes. However, you can definitely make this project without a Cricut or other cutting machine. All you need is some paper, a way to cut it, glue, and a shape that is symmetrical so that when you fold it in half it matches up.
I chose a variety of different shapes for my ornaments, but if you are cutting them by hand rather than using a cutting machine I would stick with a really simple shape like a circle. These ornaments are very quick and easy to make, and are great for a variety of skill levels, you could even make them with kids.
Be sure to go and check out all of the other Last Minute Holiday Crafts being shared today and tomorrow. And as usual there is a giveaway! Scroll down just a little bit more for all of the giveaway details and to enter.
Tiny Wooden Rainbow Houses by Laura of Me and My Inklings
Candy Cane Wreath for the Holidays by Laura of Laura's Crafty Life
Colorful Holiday Gift Card Holders by Smitha of Smiling Colors
DIY Clay Christmas Ornaments by Kimberly of Crafting Cheerfully
Hot Cocoa Mix in a Jar with Free Printable Tag by Shani of Sunshine & Munchkins
Folded Paper Christmas Ornaments by Erica of 5 Little Monsters
Festive Dried Orange Slice Garland by Justine of Little Dove
Alcohol Ink Christmas Ornaments by Kelsey of Poofy Cheeks
Enter below to win a Sculpey Polymer Clay Prize Pack!
How to Make Folded Paper Ornaments
You will need:
- Paper in one print for each ornament ( I used an 8x10 paper pad of Christmas Plaids, 1- 8x10 sheet for each ornament)
- string
- tape runner or glue stick
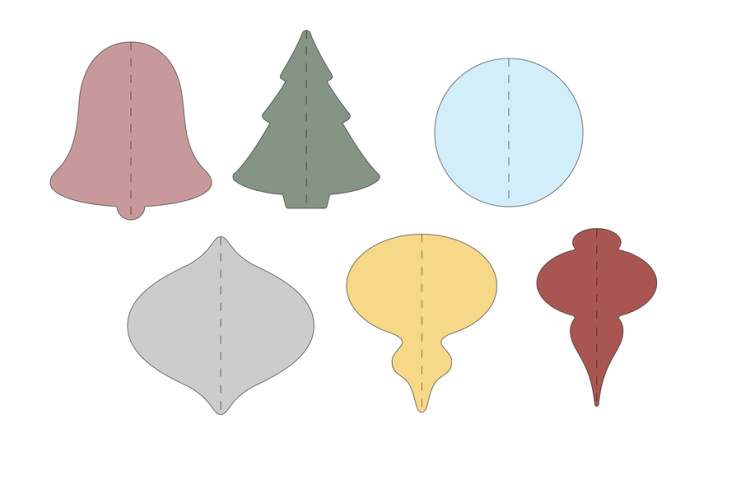
- a template of the shape you want
- scissors


These turned out so beautifully!
ReplyDeleteI would love to try using this sculpy!
ReplyDeleteI have not seen all of the movies, or read the books, but the first movie seems to be the one I watch the most. Some weekend I want to have a Happy Potter marathon and finally watch them all :)
ReplyDeleteThanks so much for this awesome giveaway!!!
ReplyDeleteI generally check this kind of article and I found your article which is related to my interest.Hallmark Christmas Ornaments Genuinely it is good and instructive information. Thankful to you for sharing an article like this.
ReplyDelete