-This post may contain affiliate links, I may be compensated if you make a purchase after clicking the links-
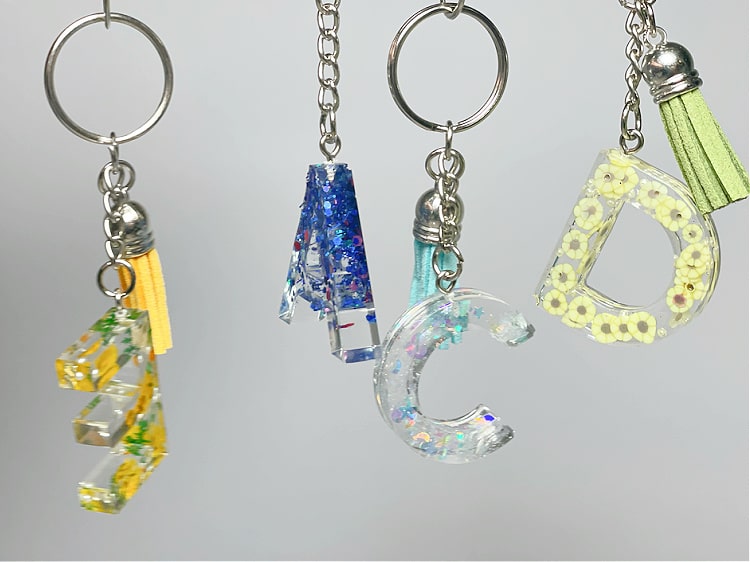
Last month as I shared some Harry Potter themed crafts I made some resin keychains. It was the first resin project I shared here on the blog, though we did try a few things as practice before that. When I made them I had a little bit of extra resin left so I used it to make a few extra keychains, specifically using some of my kids first initials.
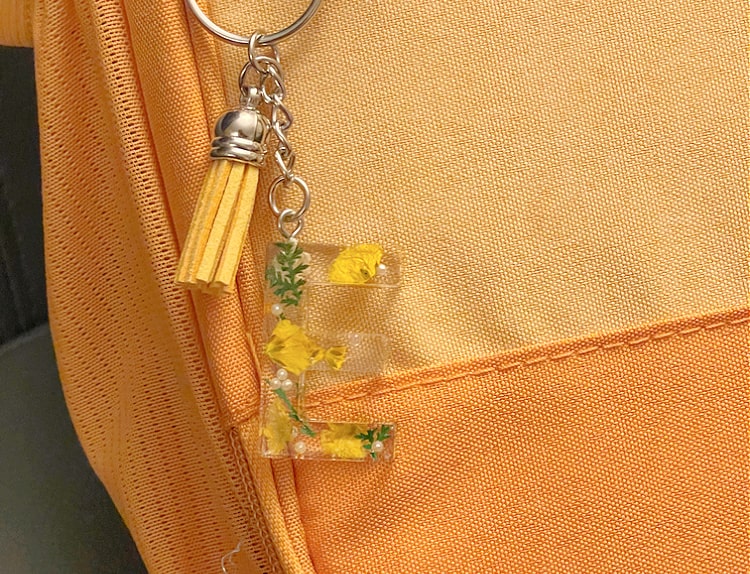
My girls all loved them and used them to attach to their backpacks and lunch bags. Before school started I decided to make up a few more and take pictures so that I could share them here.
They were a fun little project, and my girls liked being able to choose the things that we used in their initials. For these ones I mostly kept the resin just as plain clear resin, then I added drips of ink and swirled it around with a toothpick, or added glitters, dried flowers, or other little decorations.
My 9 year old has several keychains attached to her backpack, and has gathered up all of the extra letters that we had and has been requesting more so that she can hand them out to pretty much the whole 4th grade. Even my teenager is loving then, so they are great for a white range of ages.
How to Initial Resin Keychains
You will need:
- Craft Resin -
- I used this kit from Sam's Club that came with the resin and hardener as well as a variety of glitters, alcohol inks, and mica powders
- This kit on amazon is the same brand and is a similar kit
- Mixing cups and sticks- I used the ones that came in my kit
- Small cups for mixing colors
- Silicone letter mold (I bought mine at Michaels, but I can't find the exact one online, this one on amazon is similar and comes with keychain hardware)
- Alcohol inks in desired colors
- Glitter in desired colors
- Other Decorations to put in resin
- Dried Flowers
- keychain hardware (small screw eyes and keychains, mine were included in the kit I used)
- keychain tassels
- gloves
Instructions:
Follow the instructions with your resin to mix it up to prepare for pouring into the molds. Be sure to follow all safety precautions, use gloves, well ventilated work area, etc.
If you would like to color the resin with inks or mica powders you can separate it into separate cups to add color.
I just poured clear resin to partially fill the mold. Then add any flowers, glitters, fillers, etc. that you would like.
If you want to add a few drops of alcohol inks you can add then and then use a toothpick to swirl the colors as decided.
Fill the mold the rest of the way with resin.
Let the resin harden for the required time according to your resin instructions.
Remove the hardened resin from the molds.
Screw a screw eye into the top of the letter.
Attach the keychain to the screw eye.
Attach the tassel to the keychain. The lobster clasp style clips work great for clipping onto backpack zippers.


Hi i have been looking at the lovely things you have made and now i am hooked and been on Amazon looking at all the stuff i need to buy so i can start doing my own .
ReplyDelete