-This post may contain affiliate links-
School supplies have been on our minds lately as we have been preparing for the kids to go back to school this week. I actually love school supplies so this is always kind of a fun time for me. I don't know what it is about a brand new box of crayons, or an empty new notebook, but they make me happy.
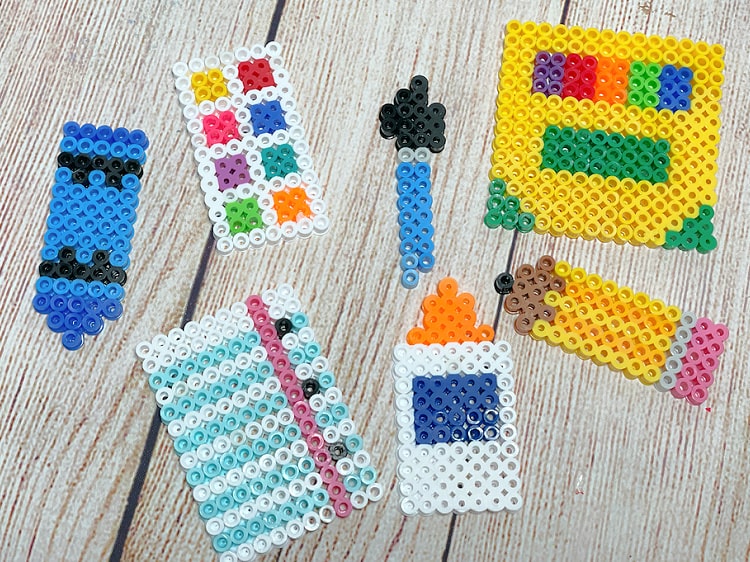
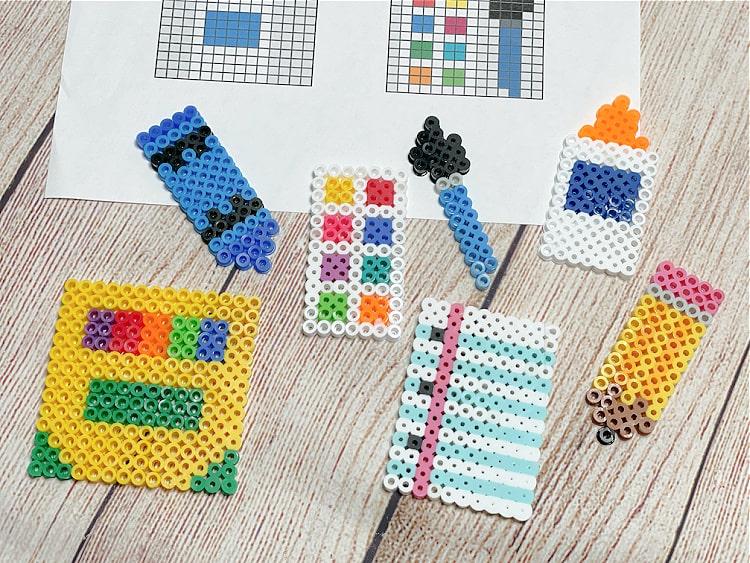
With all of the back to school preparations and school supplies on my mind, I thought it would be fun to make some school supply Perler Bead designs.
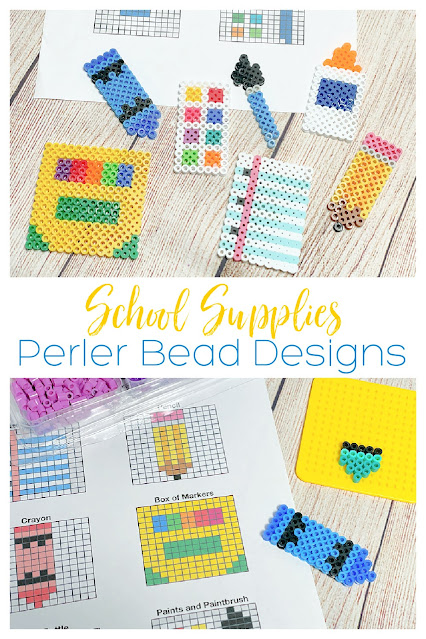
As I usually do with my Perler Bead designs I made 6 different designs, each small enough to fit on a 14x14 pegboard. I included a piece of notebook paper, a pencil, a crayon, a box of markers (or it could be a box of crayons or colored pencils, whatever you want it to be), a bottle of glue, and a set of paints with a paintbrush.
How to Make School Supply Perler Bead Designs
You will need:
- Perler Beads in a variety of colors
- Perler Bead Pegboard
- Iron (I love my EasyPress Mini for Perler Bead Projects)
- Ironing Paper
- PDF Pattern- Food Perler Bead Designs
Instructions:
Follow the graphs to create the designs on the pegboard.
When finished cover with ironing paper and press to melt the beads together. Remove from the pegboard, flip, cover, and press on the other side.


No comments :
Post a Comment