-This post may contain affiliate links-
*Ebook with all 12 patterns included available for purchase on Etsy and Ravelry
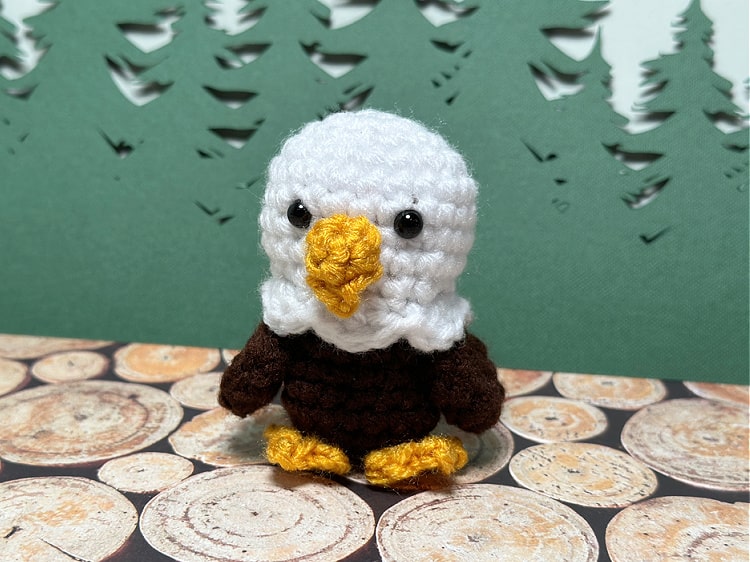
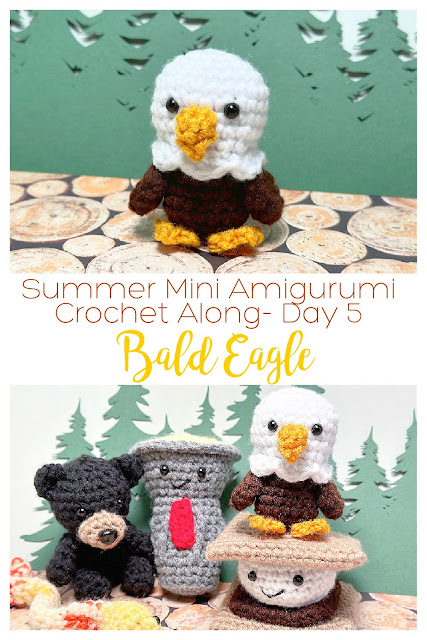
Today is Day 5 of the Summer 2023 Mini Amigurumi Crochet Along. That means we are almost halfway done already. Today's amigurumi is a little bald eagle.
When I was thinking of some animals that I could include in a camping themed set of amigurumi I wanted to include a bird of some kind but I wasn't sure exactly what kind. When I asked for votes on a theme I already had a list of what I would include in each option and I just had bird listed as one of the 12 for this set.
Then in the comments someone voted for the camping theme and mentioned that they hoped an eagle would be included. I thought that was a good idea so I changed out the generic bird that I had on my list for a bald eagle.
The bald eagle is made with the same proportions as the other animals, but because of the details I wanted I made the body and head separately, rather than in one piece like the other animals. It also has wings, a little hooked beak, feet, and a tail that are all sewn on.
How to Crochet a Mini Bald Eagle
Finished Size: about 3" tall
You will need:
- medium weight yarn in brown, white, and gold (sample made in Red Heart Super Saver in Coffee and Saffron, and Loops and Threads Impeccable in White)
- G crochet hook (4 mm)
- 2- 6 mm safety eyes
- Polyfil fiberfill
- yarn needle
- stitch markers
- scissors
Instructions:
The head and body are made separately and sew together at the neck. The beak is made using a magic ring, but unlike the other pieces you will not join and work in a round, instead you will turn and work back around, then join where noted in the pattern at the end. The feet are made using a chain and slip stitches (similar to a picot). All pieces except the feet use a magic ring to start.
Body
Make 1 with brown yarn, beginning with magic ring
Round 1: in mr, ch 1, 6 sc (6 sc)
Round 2: 2 sc in each st (12 sc)
Round 3: [2 sc in first st, 1 sc in next st] repeat around (18 sc)
Rounds 4-8: 1 sc in each st (18 sc)
Finish off, and cut yarn
Stuff the body and set aside
Head
Make 1 with white yarn, beginning with magic ring
Round 1: in mr, ch 1, 6 sc (6 sc)
Round 2: 2 sc in each st (12 sc)
Round 3: [2 sc in first st, 1 sc in next st] repeat around (18 sc)
Round 4: [2 sc in first st, 1 sc in next 2 sts] repeat around (24 sc)
Rounds 5-8: 1 sc in each st (24 sc)
Round 9: [sc2tog, 1 sc in next 2 sts] repeat around (18 sc)
Round 10: [sl st in first st, 3 dc in next st, sk next st] repeat around (6 shells)
Finish off, and cut yarn leaving long tail for sewing
Insert safety eyes between rounds 6 and 7, about 3 sts apart
Stuff head
Sew the head to the body by pulling the head over the body so the shells from round 10 overlap the body and the top edge of the body lines up with round 9 of the head and use the tail to sew them together (you can wait and sew the beak on before you sew the body to the head if you want, that makes it easy to hide the ends inside)
Beak
Make 1 with gold yarn, beginning with magic ring (but you will not join at the end of the first round)
Round 1: in mr, ch 1, 5 sc (5 sc)
Round 2: ch 1, turn, 1 sc in first 3 sts, ch 3, sl st to the first ch (furthest from the hook), sc in last 2 sts, sl st to first sc to join
Finish off and cut yarn leaving long tail for sewing
Sew the beak to the head between the eyes with the picot that makes the hooked part of the beak in front and the part that you joined at the end in the back
Wings
Make 2 with brown yarn, beginning with magic ring
Round 1: in mr, ch 1, 6 sc (6 sc)
Round 2: [2 sc in first st, 1 sc in next st] repeat around (9 sc)
Round 3: [2 sc in first st, 1 sc in next 2 sts] repeat around (12 sc)
Round 4: sc2tog around (6 sc)
Finish off and cut yarn leaving long tail for sewing
Flatten the wing and sew one to each side of the body
Tail
Make 1 beginning with white yarn, beginning with magic ring
Round 1: in mr, ch 1, 6 sc (6 sc)
Round 2: 2 sc in each st (12 sc)
Change to brown yarn
Round 3: [sc2tog, sc in next 2 sts] repeat around (9 sc)
Finish off and cut yarn leaving long tail for sewing
Flatten tail and sew to back of the body
Round 2: 2 sc in each st (12 sc)
Round 3: [sc2tog, sc in next 2 sts] repeat around (9 sc)
Finish off and cut yarn leaving long tail for sewing
Feet
Make 2 with gold yarn
*the feet are made by crocheting a chain and slip stitching in some of the chains to make each of the "toes" similar to a picot, at the end you will single crochet in the first chains that you madech 4
turn, sk the first 2 ch from hook, sl st in next ch, [ch 3, sl st in the first of the 3 ch you just made] 2 times, 1 sc in last ch from the starting ch
Finish off and cut yarn leaving long tail for sewing
Sew the feet to the bottom of the body


No comments :
Post a Comment