-This post may contain affiliate links-
My brother and sister-in-law are expecting their first baby soon and they are both into a lot of geeky stuff, including Dungeons & Dragons. We had a little family baby shower last week and I was working on a gift that I realized wasn't going to get done in time, so at the last minute I decided to make some DnD themed onesies. We play in a little family group with them and my brother is the DM so I felt like it was a fitting gift to make.
I came up with a few designs and made the onesies, literally finishing them at the last second as we were running out the door to go to the shower. I thought they turned out super cute and thought they would be fun to share here, but because it was so last minute I didn't have any time to take pictures or anything.
After the shower I decided that I needed to remake them so that I could take pictures and share them on my blog. So I did. And now I am sharing them with you.
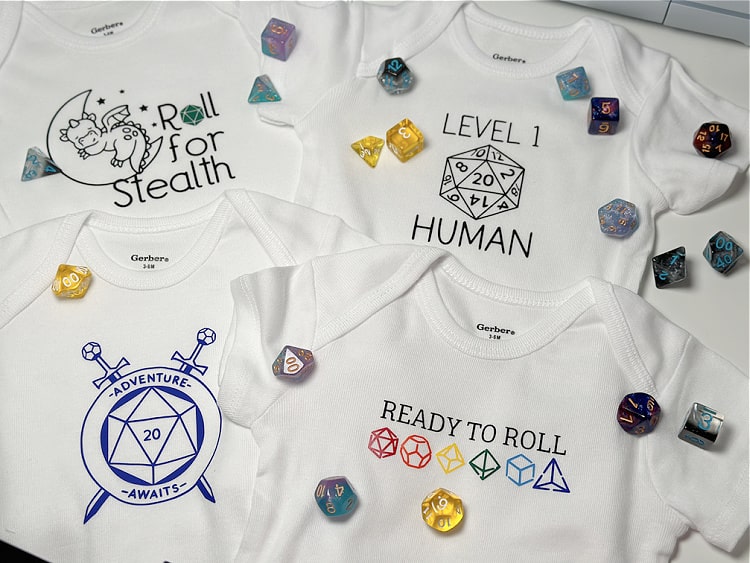
I made a total of 4 onesies, mostly because that is how many came in the package. I used designs that were available in Cricut Design Space, all of them are included in Cricut Access so they are free with that subscription, but may have a small fee to use if you aren't a subscriber.
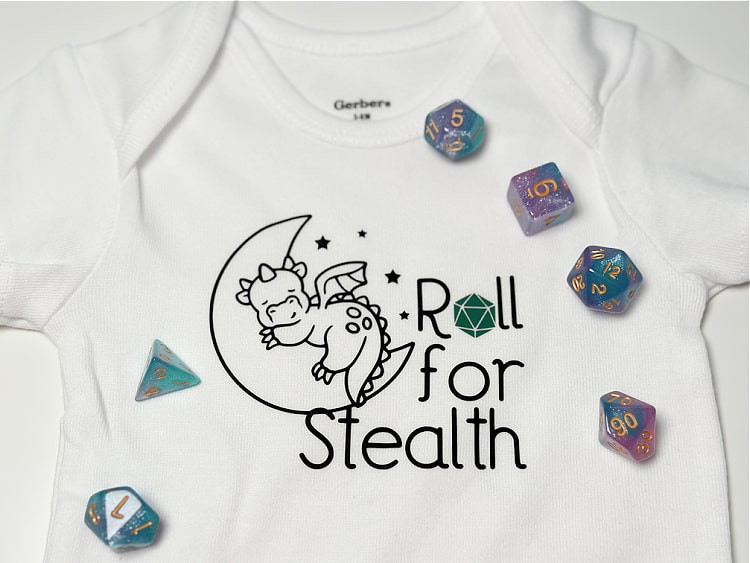
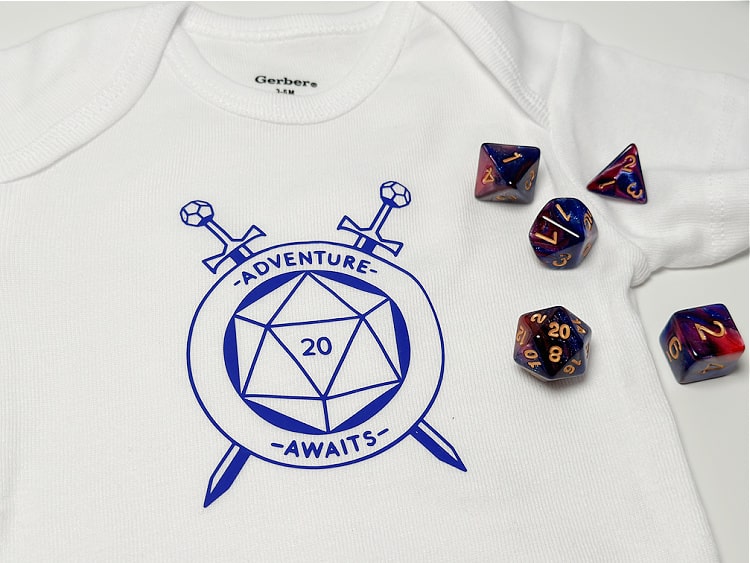
One design, the Adventure Awaits design, I used exactly the way it was in Design Space. The others I tweaked a little or combined with text to make the designs I wanted. The Ready to Roll design originally said "Choose Wisely" but I wanted to change it to something with roll in it. You could also say "Roll for Adventure", "This is how I roll", or something else along those lines. The Level 1 Human and Roll for Stealth designs I came up with based on dnd themed onesies I saw online. I combined text and images to recreate something similar to those. I think the Roll for Stealth with the little sleepy dragon is my favorite.
How to Make a Set of DnD Themed Onesies
You will need:
- Cricut
- Iron On Vinyl in desired colors (I used black, blue, and a small amount of red, orange, yellow, green, and light blue)
- Onesies (or other baby shirts)
- EasyPress
- EasyPress Mat
Instructions:
Open my DnD Onesies project in Design Space.
Resize the designs as needed to fit your onesies. I typically do onesie designs around 4" max, so I sized them according to that. If you are making larger shirts (I did 3-6 month size) you make need to adjust the size.
Cut them out of iron on, don't forget to mirror your design. Sometimes when you are cutting out small pieces of different colors (like the dice on the ready to roll onesie) it can save time to cut them all out on one mat. To do this just place small pieces of iron on on your mat and position the designs accordingly. Then you only have to do one cut, rather than changing colors and reloading the mat multiple times.
Weed all of the pieces.
Press on your onesies one layer at a time according to recommendations for the materials you are using. With an EasyPress, Cricut Everyday Iron On, and 100% cotton onesies I pressed mine at 315 degrees for 30 seconds.
If you press multiple layers be sure not to overlap any of your vinyl over the plastic cover of another layer, and be sure to cover all pressed layers before pressing the new layers (I just reuse the same plastic cover sheet I just pulled off).


No comments :
Post a Comment