-This post may contain affiliate links, fabric for this project provided by Missouri Star Quilt Company-
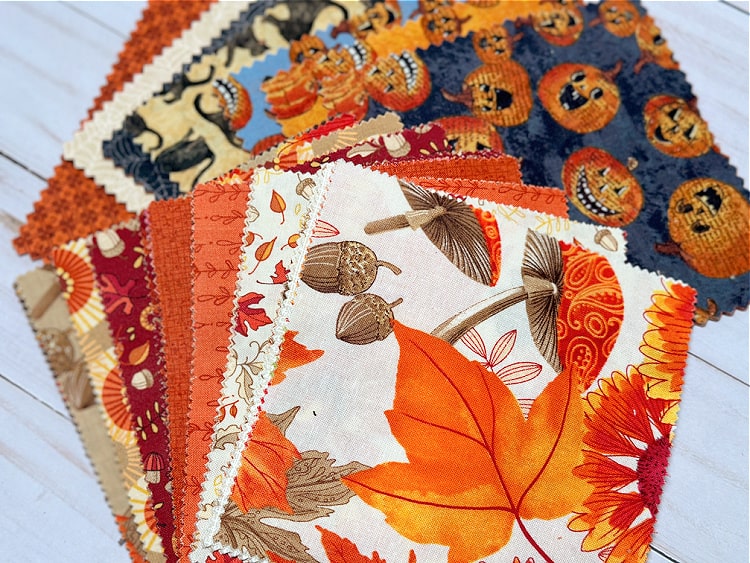
Lately I have been working on some sewing projects and I have discovered a love of precuts. I never used to use them, I think it felt like I was getting so little fabric when it was cut into 5" squares, or 10" squares, or strips, or whatever. But it sure is convenient to have all of that cutting done for you, and you get a variety of coordinating fabrics since it is typically a whole line. It is such a great way to get the fabric you need for a project like this one made entirely of charm squares (plus the binding fabric).
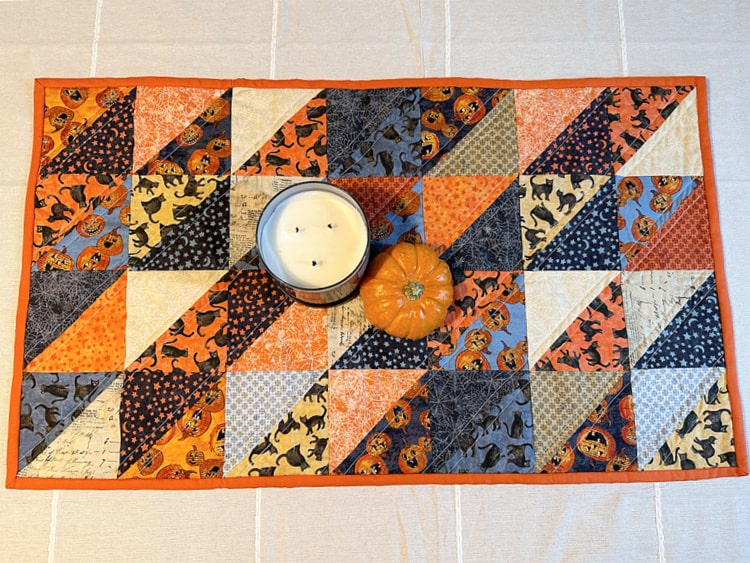
This table runner is reversible, one side for fall, and one side for halloween. It is made with 2 charm packs, one fall, and one halloween. I got both of my charm square packs from Missouri Star Quilt Company.
You can get 15% off your purchase from Missouri Star Quilt Company when you use this link.
You could do the same thing with any 2 holidays or seasons, but since those fit best with this time of year those are the two I chose. The only thing to think about when choosing which 2 holidays or seasons, and which fabric to use for each one, is to make sure that they have at least one coordinating color between the two that you can use for binding since you will see that on both sides.
I chose two charm packs that had oranges that were more of that rusty, darker orange color, rather than a bright pumpkin orange. There were also tans and creams in both that I could have used. If I had used deep, rich shades for the fall side, and bright purples, oranges, and lime greens on the halloween side it may have been more difficult to find a color that worked for both sides.
I chose a simple half square triangle pattern for both sides. I started with the charm squares, sewed down the middle, cut them apart, and arranged them the way I wanted. Then I repeated that on the other side.
I just did some simple quilting to each side of the diagonal seams, mostly because I wanted something that would be pretty forgiving if the two sides didn't match up perfectly.
Once I was done I had a nice table runner for fall, and for Halloween. I could use the fall side in September, flip it to Halloween in October, then back to fall for November and Thanksgiving.
How to Make a Reversible Half Square Triangle Table Runner
You will need:
- 2 charm packs- 1 fall (sample made with Forest Frolic) and 1 Halloween (sample made with All Hallows Eve)
- thin batting- slightly larger than 16"x 28" (I just used a scrap leftover from another project)
- 1/4 yard fabric for binding
- adhesive basting spray
Instructions:
This makes it so that when you put the two sides back to back the lines go in the same direction for quilting.
I used basting spray to put one side on the batting, then I trimmed any excess batting from around the edge of the table runner, flipped it over, and used the basting spray to attach the other side to the batting. Normally I would leave the backing and batting slightly larger than the front, but because the front and back are both pieced on this I needed to make sure they lined up as perfectly as possible.
Next quilt as desired, I stitched a line about a presser foot width to each side of the diagonal lines. I chose this because I felt it would be more forgiving if the lines didn't match up perfectly than something like stitch in the ditch would. An all over quilting design would probably be even more forgiving but since I was just using my home sewing machine I wanted to keep it simple.
Once it is quilted the last step is to bind it. I cut 2.5" strips for my binding, folded it in half, pressed it, sewed it to one side with my machine, then flipped it to the other side and hand sewed that side down. Because it was reversible and I wanted both sides to look the same I felt like I could best achieve that by hand sewing the second side.
And with that the table runner is done. You could make one for every holiday/season.


This looks so beautiful and I hope I get time to make one or two. Thank you so much for sharing.
ReplyDelete